


A gallery wall is one of the easiest ways to give a room personality. Composed well, it becomes a natural focal point that says something about you and the people you share your home with. Here we go through the whole process, from planning and choosing motifs to frames and hanging, so the result feels harmonious and well thought out.
Plan your gallery wall – choose the right wall and theme
Good planning is the key to a balanced gallery wall. Start with where you want it. Should it be in the living room, the bedroom or perhaps the hallway? Think about the size and shape of the wall too. A large wall gives you more freedom, while a smaller wall can become a striking and intimate collage.
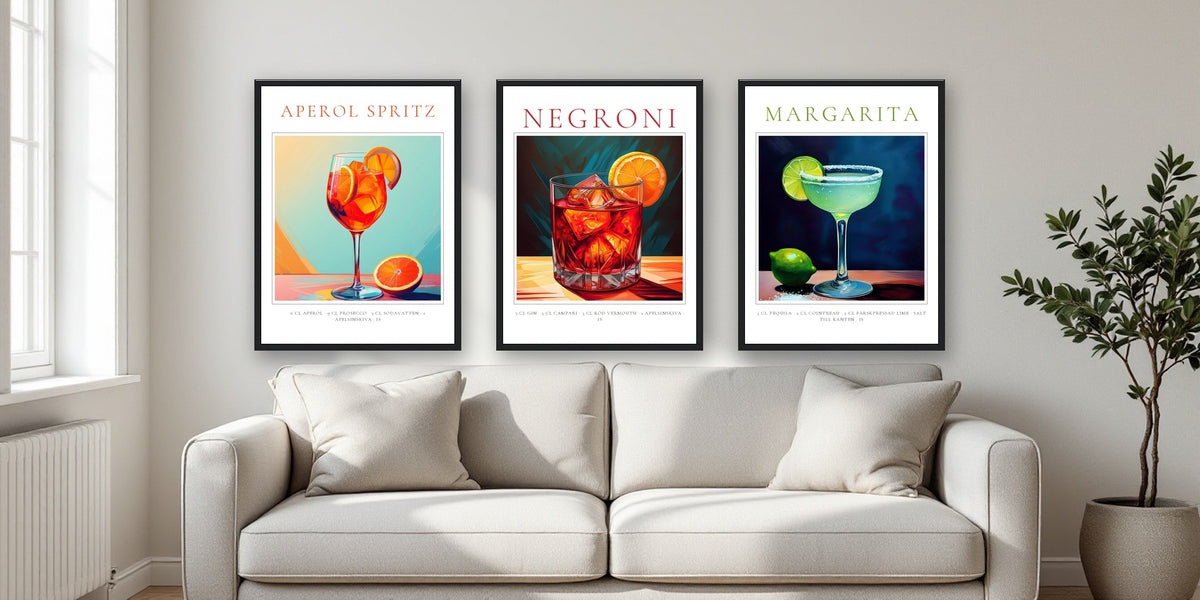
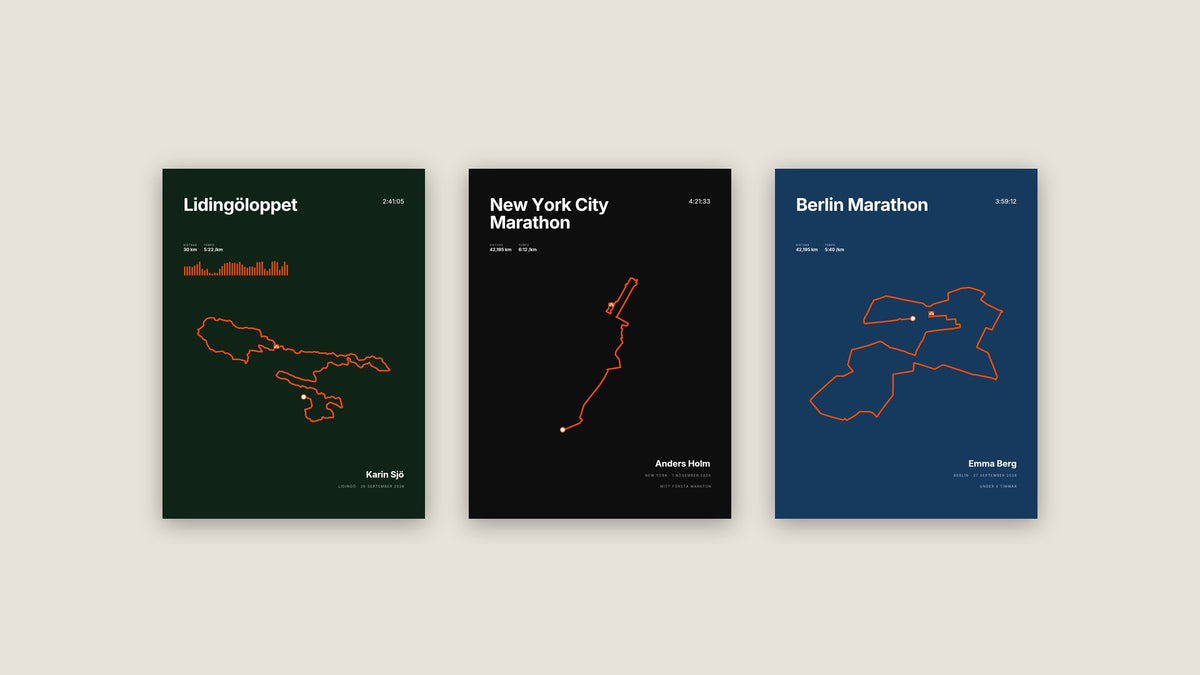
Then choose a theme. Do you want to gather memories from trips, places that have meant something or people and animals you love? Consider the rest of the room's interior and pick motifs and colors that complement the style. In a minimalist home, clean typography, maps and star maps in black and white often work well. In a more colorful room, you can mix photos and portraits with livelier colors.
Make the gallery wall personal
What makes a gallery wall memorable is motifs that genuinely mean something. A few ideas to start from:
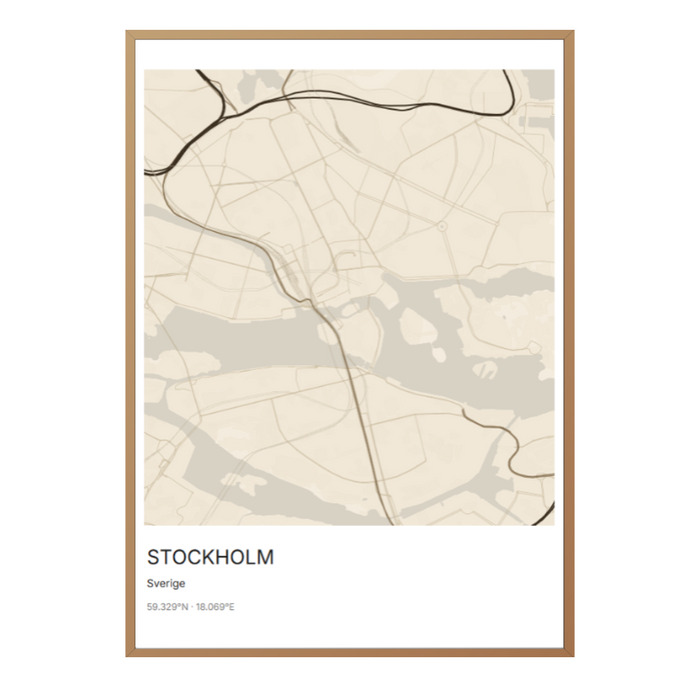
- Places: a map poster of the city where you live or a map poster of the place where you met.
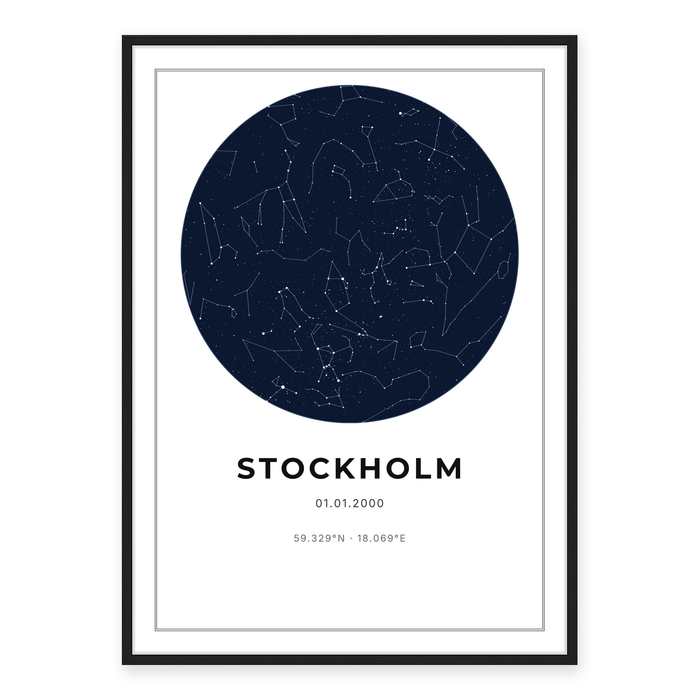
- Moments: a star map poster showing the sky on a particular date, such as your wedding day or the day a child was born.
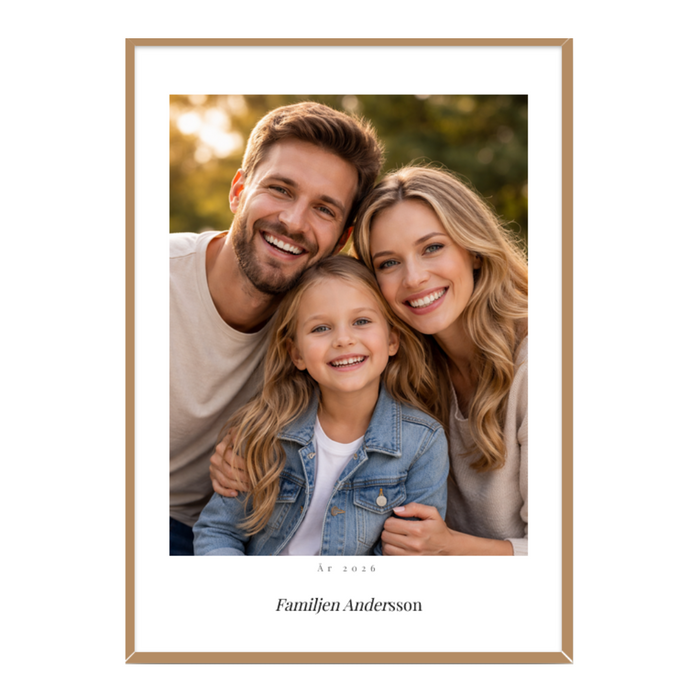
- Photos: a personal photo print or a photo collage with several pictures from the same summer or trip.
- Portraits with a twinkle in the eye: a pet portrait, a king portrait or a Renaissance portrait that becomes the talking point of the wall.
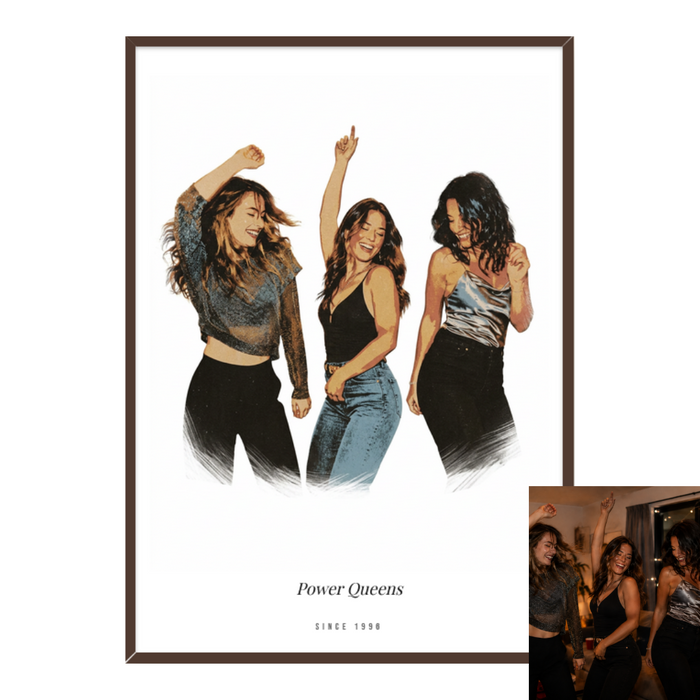
- Completely your own: with design your own print you build the motif from scratch with your own images and your own text.
A tip is to let one or two prints be a little larger and anchor the wall, and complement them with smaller motifs around them.
Test the layout before you drill
Before you start hammering and measuring, it pays to test the layout. Cut out pieces of paper in the same sizes as the prints and tape them to the wall. You will immediately see how proportions and spacing work, and you can move things around until it feels right without making a single hole in the wall. Then mark where the nail should go directly on the paper.
Feel free to mix sizes. Our prints come in sizes from 13×18 cm up to 70×100 cm, and our size guide for prints helps you choose the right size for the wall. When you create a print, you see a preview of the motif before you order.
Choose frames and materials that fit
The frames play a big part in how the gallery wall is perceived. Do you want something minimalist, or something warmer with more character? Posters are available with a frame in white, black, oak and walnut, or with a poster hanger. If you want prints without a frame, canvas, metal poster and plexiglass work well.
If you stick to the same frame across the whole wall, the impression is calm and consistent. Mixing frames and materials can instead add energy, if that suits your style.
- Oak or walnut for a natural, warm feel.
- A black frame for a clean and timeless look.
- A white frame to highlight colorful or minimalist motifs.
- Canvas for a softer, more painterly surface without a frame.
Hang the prints – how to get a professional result
Now it is time to put the prints up. Think about the spacing between them. A common mistake is to place the prints too far apart. For a cohesive look, keep a distance of 5–10 cm between each print. Use a spirit level so the prints hang straight. Even if it looks right to the eye, small tilts can disturb the whole.
It is a good idea to start with the largest print in the middle, at roughly eye level, and build outwards from there.
Summary
A gallery wall is a wonderful way to make your home more personal. Plan the wall, choose motifs that mean something, test the layout with paper and hang the prints with even spacing. Whether you want to gather places, moments or the people and animals you love, there is something that suits your wall.
Dela:
How to create a drink wall that feels like your own home bar